Create A Comprehensive 2025 Calendar In Microsoft Excel
Create a Comprehensive 2025 Calendar in Microsoft Excel
Related Articles: Create a Comprehensive 2025 Calendar in Microsoft Excel
- December 2025 Printable Calendar: A Comprehensive Guide
- Queensland Department Of Education School Calendar 2025: A Comprehensive Guide
- Penn State 2025 Academic Calendar: A Comprehensive Guide
- 2025 HK Calendar: A Comprehensive Overview
- Odia Calendar 2025 PDF: A Comprehensive Guide To Odia Traditions And Festivals
Introduction
With great pleasure, we will explore the intriguing topic related to Create a Comprehensive 2025 Calendar in Microsoft Excel. Let’s weave interesting information and offer fresh perspectives to the readers.
Table of Content
Video about Create a Comprehensive 2025 Calendar in Microsoft Excel
Create a Comprehensive 2025 Calendar in Microsoft Excel
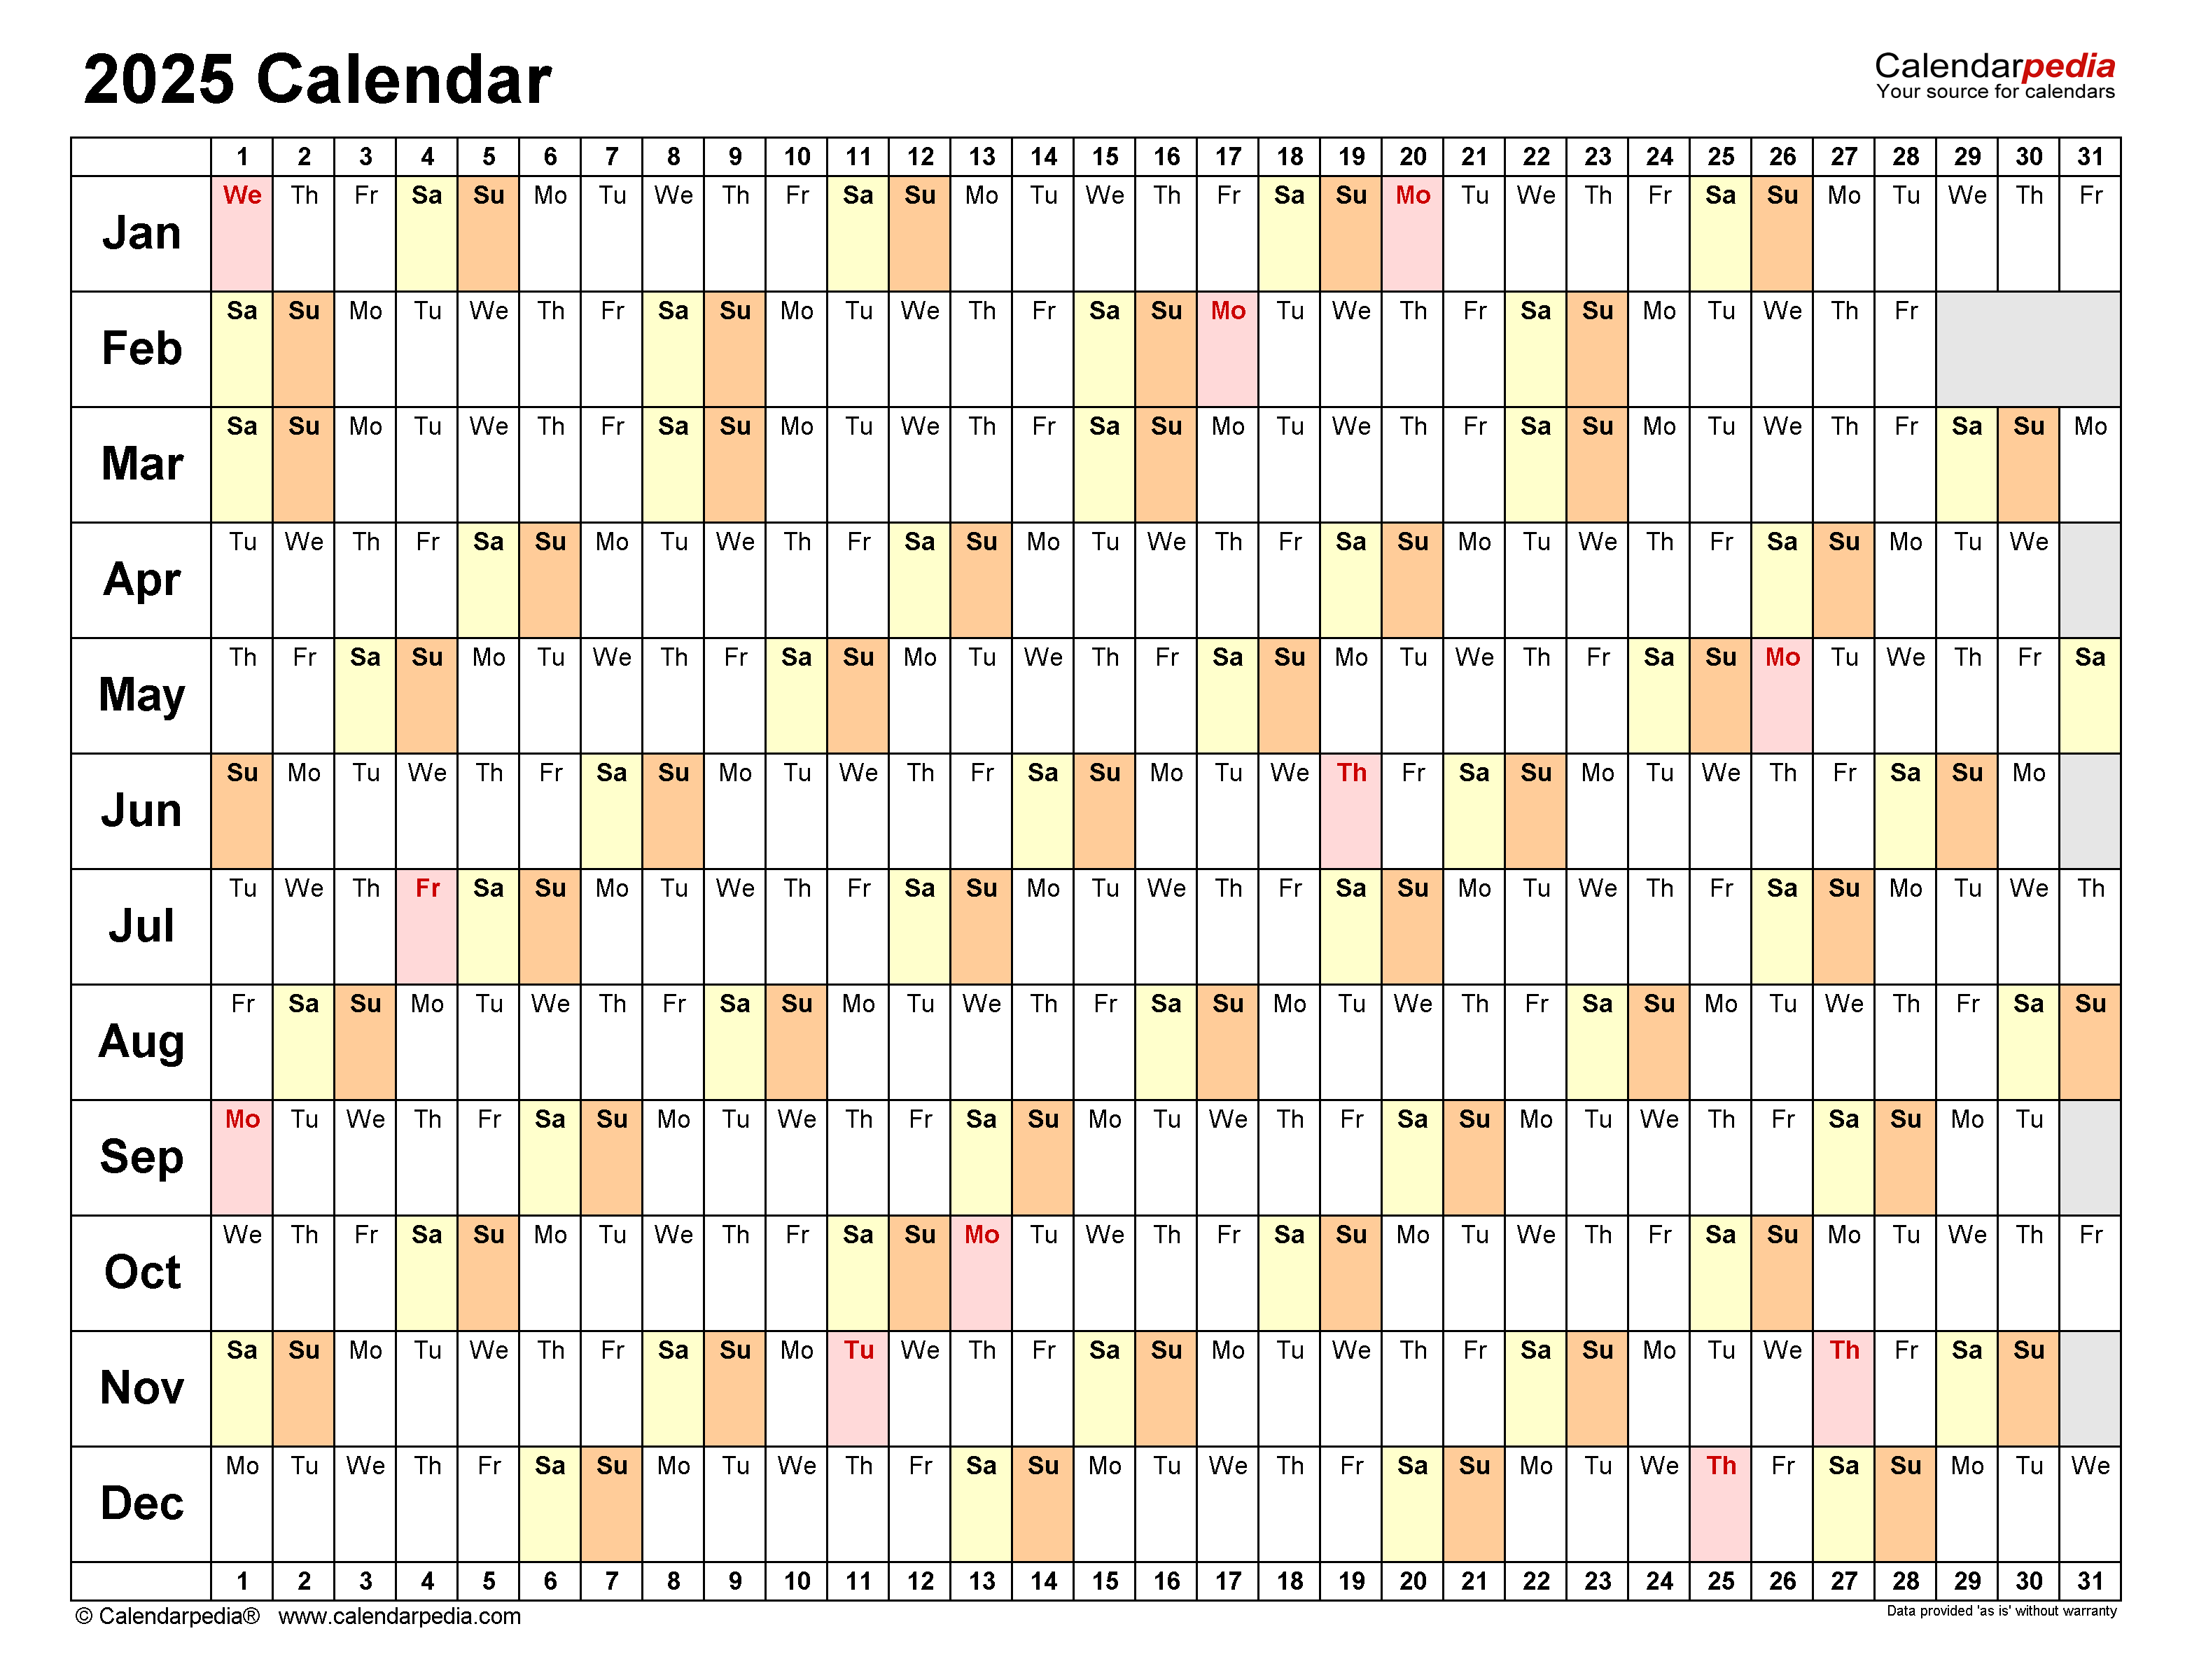
Microsoft Excel is a versatile tool that can be used for a wide range of tasks, including creating calendars. A calendar can be a useful way to track appointments, events, and deadlines. In this article, we will show you how to create a comprehensive 2025 calendar in Microsoft Excel.
Step 1: Open a New Excel Workbook
To create a new Excel workbook, open the Microsoft Excel application and click on the "Blank Workbook" template.
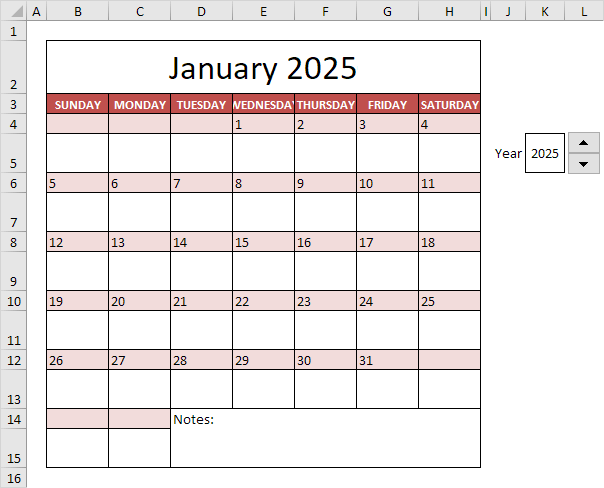
Step 2: Create a Table for the Calendar
The first step in creating a calendar is to create a table that will contain the calendar dates. To do this, click on the "Insert" tab and then click on the "Table" button.
In the "Create Table" dialog box, select the range of cells that you want to include in the table. In this case, we will select the range A1:G366.
Click on the "OK" button to create the table.
Step 3: Format the Table
Once you have created the table, you can format it to make it look more like a calendar. To do this, select the table and then click on the "Design" tab.
In the "Table Styles" group, select a table style that you like.
Step 4: Add the Month Names
The next step is to add the month names to the calendar. To do this, select the cells in the first row of the table and then type in the month names.
Step 5: Add the Day Names
Next, add the day names to the calendar. To do this, select the cells in the second row of the table and then type in the day names.
Step 6: Add the Dates
Now, you can add the dates to the calendar. To do this, select the cells in the remaining rows of the table and then type in the dates.
Step 7: Format the Dates
Once you have added the dates, you can format them to make them easier to read. To do this, select the cells containing the dates and then click on the "Format" tab.
In the "Number" group, select the "Date" format that you want to use.
Step 8: Add Events and Appointments
You can now add events and appointments to the calendar. To do this, select the cell that corresponds to the date of the event or appointment and then type in the event or appointment.
Step 9: Save the Calendar
Once you have finished creating the calendar, you can save it to your computer. To do this, click on the "File" tab and then click on the "Save" button.
In the "Save As" dialog box, select a location to save the file and then type in a file name.
Click on the "Save" button to save the file.
Conclusion
Creating a calendar in Microsoft Excel is a quick and easy way to keep track of your appointments, events, and deadlines. By following the steps outlined in this article, you can create a comprehensive 2025 calendar that meets your specific needs.


Closure
Thus, we hope this article has provided valuable insights into Create a Comprehensive 2025 Calendar in Microsoft Excel. We appreciate your attention to our article. See you in our next article!