2025 Calendar In Excel: A Comprehensive Guide To Creating A Professional Calendar
2025 Calendar in Excel: A Comprehensive Guide to Creating a Professional Calendar
Related Articles: 2025 Calendar in Excel: A Comprehensive Guide to Creating a Professional Calendar
- Free Printable Desktop Calendar 2025: Plan Your Year With Style
- Calendar 2025 With Holidays West Bengal
- Hindu Religious Calendar 2025: A Comprehensive Guide To Festivals, Vrats, And Auspicious Days
- July 2025
- Wiki Calendar 2025 Printable: A Comprehensive Guide To A Customizable Calendar
Introduction
With enthusiasm, let’s navigate through the intriguing topic related to 2025 Calendar in Excel: A Comprehensive Guide to Creating a Professional Calendar. Let’s weave interesting information and offer fresh perspectives to the readers.
Table of Content
Video about 2025 Calendar in Excel: A Comprehensive Guide to Creating a Professional Calendar
2025 Calendar in Excel: A Comprehensive Guide to Creating a Professional Calendar
Introduction
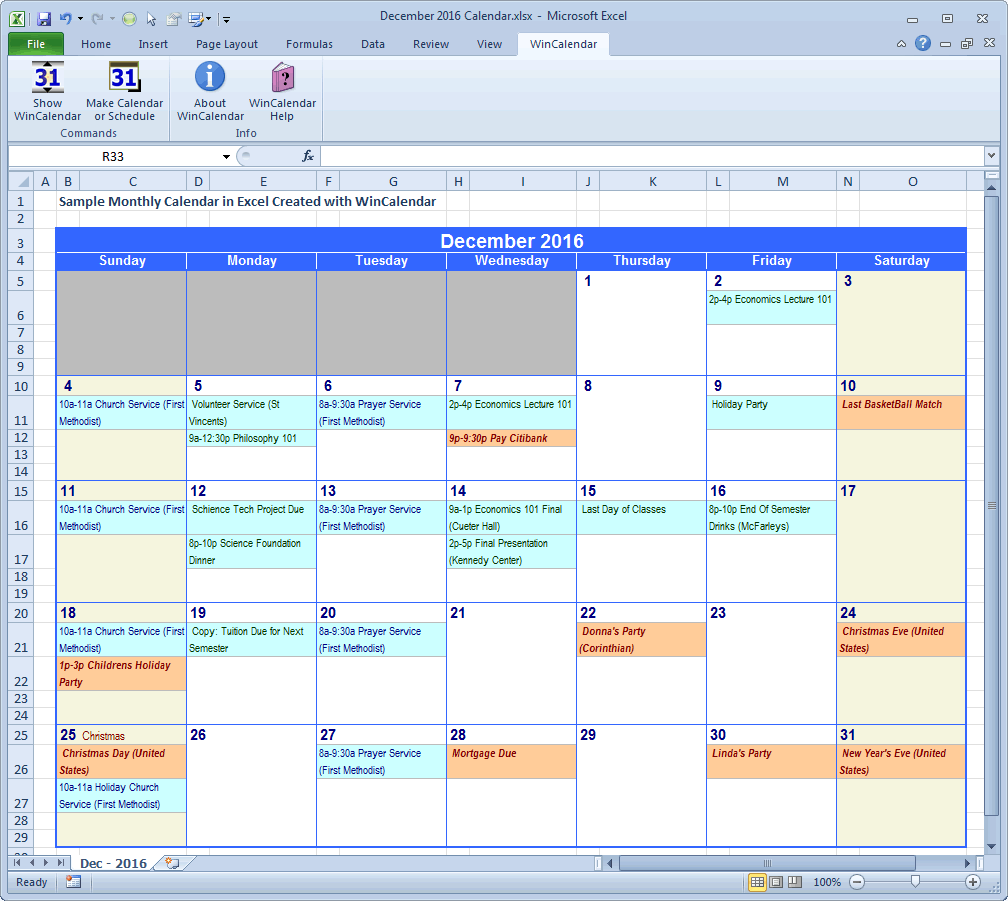
Excel is a versatile spreadsheet program that offers a wide range of features and tools for organizing and managing data. One of the most useful applications of Excel is creating calendars. A well-designed calendar can help you stay organized, plan events, and track important dates.
This comprehensive guide will show you how to create a 2025 calendar in Excel using step-by-step instructions and screenshots. We will cover everything from basic formatting to adding events and creating custom designs.
Creating a New Excel Workbook
- Open Microsoft Excel on your computer.
- Click on the "File" tab in the top left corner.
- Select "New" from the menu on the left.
- Click on the "Blank workbook" template.
- A new Excel workbook will be created.
Formatting the Calendar
- Select the cells that you want to use for your calendar.
- Right-click on the selected cells and choose "Format Cells" from the menu.
- In the "Format Cells" dialog box, click on the "Alignment" tab.
- Under "Horizontal alignment," select "Center."
- Under "Vertical alignment," select "Center."
- Click on the "OK" button to apply the formatting.
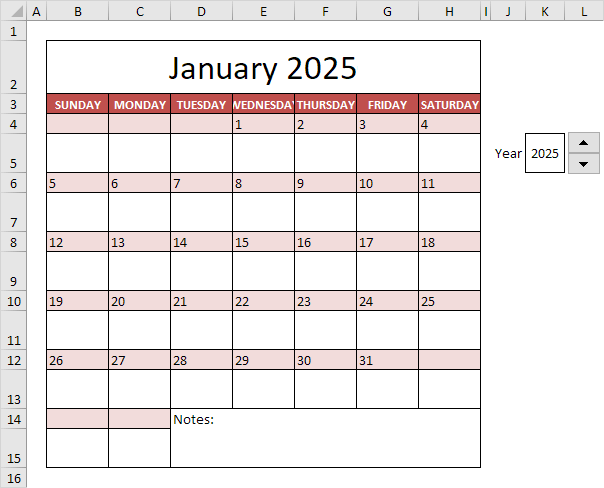
Adding Month and Year Headings
- Select the cells that you want to use for the month and year headings.
- Type the month and year in the selected cells.
- Center the text by following the steps outlined in the previous section.
- Increase the font size of the headings to make them stand out.
Creating Day Headings
- Select the cells that you want to use for the day headings.
- Type the day abbreviations (e.g., Sun, Mon, Tue, etc.) in the selected cells.
- Center the text and increase the font size as you did for the month and year headings.
Adding Day Numbers
- Select the cells that you want to use for the day numbers.
- Type the day numbers (1-31) in the selected cells.
- Center the text and adjust the font size as needed.
Highlighting Weekends
- Select the cells that represent weekend days (e.g., Saturday and Sunday).
- Right-click on the selected cells and choose "Format Cells" from the menu.
- In the "Format Cells" dialog box, click on the "Fill" tab.
- Select a light gray or another color of your choice for the fill color.
- Click on the "OK" button to apply the fill color.
Adding Events
- Select the cell that corresponds to the date of the event.
- Type the event name in the cell.
- Format the event text as desired (e.g., bold, italic, different font color).
- Repeat steps 1-3 for all events that you want to add to the calendar.
Creating Custom Designs
Excel offers a variety of tools for customizing the design of your calendar. You can add borders, change the font style, and even insert images.
- To add borders, select the cells that you want to border and click on the "Borders" button in the "Home" tab.
- To change the font style, select the text that you want to change and click on the "Font" button in the "Home" tab.
- To insert an image, click on the "Insert" tab and then click on the "Pictures" button.
Saving and Printing the Calendar
- Once you have finished creating your calendar, click on the "File" tab.
- Select "Save As" from the menu on the left.
- Choose a location to save the file.
- Enter a file name for the calendar.
- Click on the "Save" button.
To print the calendar, click on the "File" tab and then click on the "Print" button.
Conclusion
Creating a 2025 calendar in Excel is a straightforward process that can be completed in a few simple steps. By following the instructions outlined in this guide, you can create a professional-looking calendar that will help you stay organized and on top of your schedule.

Closure
Thus, we hope this article has provided valuable insights into 2025 Calendar in Excel: A Comprehensive Guide to Creating a Professional Calendar. We hope you find this article informative and beneficial. See you in our next article!